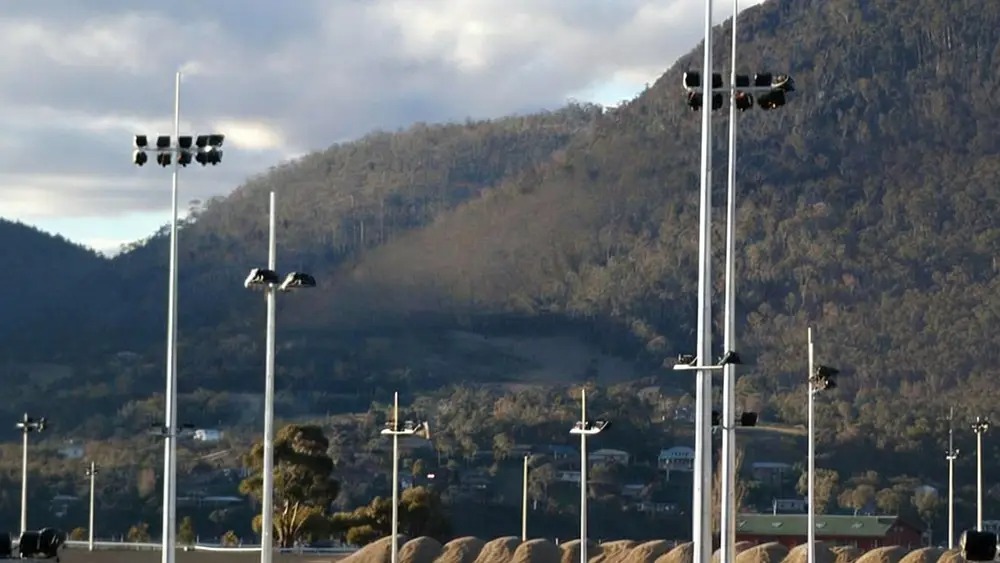
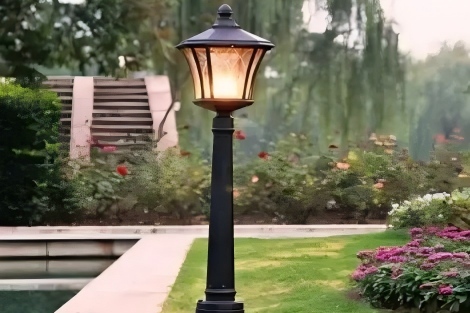
Outdoor light pole installation requires careful planning and standard safety practices. Steel lighting poles offer strong storm resistance and stable load-bearing performance, complying with strict outdoor infrastructure codes. Manufactured to ASTM-A500 Grade C and ISO 1461 standards, durable steel poles from Morelux ensure reliable and long-term outdoor lighting performance.
| Material | Durability Characteristics | Performance Characteristics |
|---|---|---|
| Steel | Strongest, lasts longer than aluminum in storms. Needs a special coating. | Best for strong wind, heavier, can rust if coating breaks. |
| Aluminum | Light, does not rust easily, easy to care for. | Used in parking lots, lasts 30-40 years. Costs more than steel. |
| Fiberglass | Does not rust, good for places near the sea. | Easy to care for, light, but costs a lot. Not much info on strength. |
| Concrete | Very strong, cheap, but heavy and hard to put in. | Cheapest over time, no care needed, but needs cranes to install. |
Key Takeaways
- Choose the appropriate light pole material. Steel is sturdy, durable, and has a long service life; aluminum is lightweight and rust-resistant.
- Always inspect underground pipelines before excavation. This helps prevent accidents and ensures construction safety.
- Use weather-resistant components and wear safety equipment during installation. This not only ensures worker safety but also ensures the light pole functions properly in all weather conditions.
Outside Light Pole Preparation
Tools and Materials
Planning is essential before installing streetlight poles. Workers clear the site to ensure unobstructed access. They contact the power company to locate underground wiring. The construction team measures and marks the installation locations for the streetlight poles. Soil type affects the installation method. Sometimes they bury the poles underground, sometimes they use anchor bases. Workers use shovels, levels, anchor bolts, conduits, and waterproof electrical components. Morelux provides steel streetlight poles with special components such as stainless steel hardware, connectors, and clamps. Their factory applies a rust-resistant coating to the poles and can paint them with specific colors to meet the specific needs of each project.
Electrical Safety
Safety is paramount when installing streetlight poles. Workers disconnect the power before work begins. They use waterproof components to prevent rain and dust from entering. Gloves and safety glasses help prevent injury. Lifts can help safely move heavy streetlight poles. All wiring and components must comply with local regulations.
Protective Equipment
Workers wear protective equipment for every streetlight pole installation job. Gloves protect hands from sharp objects. Safety glasses protect eyes from flying debris. Helmets protect the head from impacts. Steel-toed boots protect the feet. These measures help ensure the safety of outdoor lighting workers.
Weather Factors
Weather can affect street light installation. Construction teams check the weather forecast before starting work. Rain or strong winds can delay construction. Choosing suitable street light poles helps ensure adequate lighting for residential and commercial areas.
Tip: Think about how much light you need, the weather, and how tall the pole should be before you pick a lamppost. Morelux can make special poles for homes or businesses.
Outside Light Pole Installation Steps

Site Marking and Measurement
First, the team carefully marks and measures the site. Before construction begins, they check the location of underground utilities. The team precisely marks the locations of the streetlights. They use measuring tapes and wooden stakes to indicate the installation direction of the streetlights. Sometimes people choose the wrong streetlight poles or install them too close to buildings or power lines. The team follows installation guidelines to avoid these mistakes. They carefully check all installation rules.
Common Mistakes to Avoid:
- Picking a pole that is not tall or strong enough.
- Putting the pole near buildings or power lines.
- Not checking for underground utilities before digging.
Digging the Hole
Next, workers will dig a hole of the appropriate size. They will use an auger or shovel to do this. The depth of the hole depends on the height of the outdoor light pole and the soil conditions. For most homes, the hole depth should be 30-36 inches (approximately 76-91 cm). The width of the hole must be at least three times the diameter of the light pole. The table below shows the corresponding hole depths for different light pole heights:
| Pole Height (feet) | Recommended Depth (feet) |
|---|---|
| 8-18 | 3 |
| 18.1-25 | 4 |
| 25.1-40 | 5 |
| 40.1-50 | 6 |
The team checks the soil to see if more support is needed. Morelux steel poles are strong and work in many types of soil.
Laying a Gravel Base
A gravel base helps with drainage and keeps the light pole stable. Workers lay a few inches of gravel at the bottom of the pit. This prevents water from accumulating around the base of the light pole. The gravel base also helps keep the light pole straight during construction. Properly completing this step helps extend the life of the light pole.
Installing the Light Pole
Workers carefully place the light pole into the pit. They use a level to ensure the pole is upright. If the pole is tilted, they will adjust it before proceeding to the next step. Inspecting the site and soil conditions helps in selecting the best base.
Best Practices:
- Put the pole in the middle of the hole.
- Use a level to check if it is straight.
- Fix the pole before pouring concrete.
Pouring Concrete & Securing
Concrete makes a strong base for the lamppost. The team pours concrete around the pole and fills the hole to the top. They check if the pole is straight as the concrete dries. The concrete needs 48-72 hours to cure, depending on the weather. The team makes small fixes to keep the pole straight while it dries. Morelux steel poles are made to stay steady and work well with concrete.
Note: Wait for the concrete to dry before adding the light. This keeps the lamppost safe and strong for a long time.
Running the Conduit and Wiring
Now, the team installed the conduit and wiring. They first shut off the power to the main circuit breaker. The team used outdoor conduit and a weatherproof box. The conduit had to be buried 18-24 inches deep. They pulled the correct wires through the conduit, typically 12 AWG for a 20-amp circuit. All wires were connected with weatherproof wire nuts. Good grounding is crucial for safety. Morelux offers some tips to help you install electrical components correctly.
Electrical Steps:
- Turn off power at the main breaker.
- Use only outdoor electrical parts.
- Bury conduit at the right depth.
- Pull the right wire through the conduit.
- Make all wire connections inside the pole with weatherproof wire nuts.
Bolt Template Setup
For anchor base jobs, the team uses a bolt template. This keeps the anchor bolts in the right place in the concrete. The template makes sure the bolts are spaced right. The team checks if the template is level before the concrete dries. Morelux helps make sure the bolt pattern matches the pole base.
Connecting Fixture
After the concrete dries, the team puts the light fixture on the lamppost. They connect the wires to the fixture and follow all safety steps. The team seals the connections to keep out water. They test the light to make sure it works. They adjust the fixture if needed. This last step finishes the job and gives good outdoor lighting for homes or businesses.
Tip: Always test the light before you finish. Move the fixture for the best light and look.
A good light pole installation follows every step in this guide. Morelux’s high standards and engineering help make sure every job is safe and lasts a long time. Contractors and distributors get strong results for every lamppost installation. You can do it yourself if you have the right tools and pay close attention.
Outside Light Pole Testing & Adjustments
Inspecting Connections
The team checks every lamppost for safe electrical connections. They look at each wire and make sure the insulation is not damaged. Workers tighten all screws and clamps. They confirm that making electrical connections follows safety codes. The team uses a voltage tester to check for live wires before touching anything. Good electrical work keeps the lamppost safe and working for years.
Tip: Always double-check the ground wire. A strong ground protects the lamppost from electrical surges.
Testing Light Function
After the team finishes the electrical setup, they turn on the power. They watch the lamppost to see if the light comes on right away. If the light does not work, they check the bulb and all electrical parts. Sometimes, a loose wire or a bad bulb causes problems. The team replaces any broken parts and tests again. They make sure the outside light pole gives steady light at night.
Checklist for Testing:
- Turn on the breaker.
- Watch for the light to turn on.
- Check for flickering or dim light.
- Replace bulbs if needed.
Adjusting Position
The team looks at the lamppost from different angles. They make sure it stands straight and does not lean. If the lamppost tilts, they adjust the bolts or base. Workers also check if the light shines where it should. They turn the fixture to light up walkways or parking lots. A well-placed lamppost keeps areas bright and safe.
Note: Adjust the lamppost before the concrete fully hardens for easy changes.
Outside Light Pole Maintenance
Sealing Installation
After every light pole installation, the team seals the base and all entry points. This step keeps water and dirt out of the lamppost. Workers use weatherproof sealant around the base and any openings. They check that the sealant covers all gaps. A good seal protects the wiring and stops rust from starting inside the lamppost. Morelux steel poles come with coatings that meet ISO 1461 standards, which help prevent corrosion. The team inspects the lamppost installation for any cracks or weak spots in the seal. If they find any, they add more sealant right away.
Tip: Sealing the lamppost after installation helps it last longer and keeps the lighting system safe.
Maintenance Tips
Regular care keeps every lamppost working well and looking good. Teams follow a maintenance schedule to get the best results from each light pole installation. They check the lamppost for rust, peeling paint, or damage after storms. Workers clean the lighting fixtures and bulbs to keep them bright. They inspect for wear and tear from weather. Steel poles need repainting to keep their protective layer strong. Teams look for signs of rust and fix them quickly. Seasonal maintenance helps the lamppost handle changes in weather. Cleaning solar panels and checking batteries are important for some lighting systems.
- Clean fixtures and bulbs to keep lighting bright.
- Inspect for rust, cracks, or loose parts.
- Repaint steel poles when needed.
- Check wiring and seals after heavy rain or wind.
- Use a seasonal checklist for lamppost installation upkeep.
A good maintenance plan improves energy efficiency and safety. Proper care after every light pole installation helps the lamppost last for many years.
A good outside light pole job needs planning and care. You must keep up with maintenance after you finish. The guide shows important safety steps: Wear PPE like gloves and safety glasses. Use lifts to move heavy lampposts. Make sure all electrical connections are tight. Always check for underground lines before digging. Picking trusted brands like Morelux helps make sure each lamppost is high quality for homes.
| Benefit | Description |
|---|---|
| High-Quality Materials | Makes the lamppost last longer and need less fixing. |
| Advanced Manufacturing Techniques | Helps the pole stay strong and work well in all weather. |
| Comprehensive Engineering Support | Gives you technical help like FEA reports for safety. |
| Reduced Total Cost of Ownership | Saves money over time by needing less fixing or painting. |
| Sustainability | Meets green building rules and helps the environment. |
Lighting codes and standards keep people safe and healthy. Always check local zoning, building, and energy codes before you put in a lamppost. Ask local experts for help to follow the rules and avoid problems.
FAQ
How deep should Morelux steel light poles be dug?
Most light poles require a hole at least 3 feet (approximately 90 centimeters) deep. If the light pole is taller, a deeper hole is needed. This helps ensure the light pole’s safety and stability.
Can Morelux light poles be installed without an electrician?
Wiring should be done by a certified electrician. This ensures both construction safety and compliance with local regulations.
Why are Morelux steel light poles ideal for outdoor lighting?
Morelux steel light poles are made of robust and durable materials and offer customization options. Their coating effectively prevents rust and meets global safety standards.